There’s been quite a few requests for a tutorial to backup a website or blog. So I’m going to do a 3 part series this week covering:
- Backing up files and folders
- Backing up database
- Reversing a WordPress upgrade
You may wonder at the third one. It does seem like an odd topic and not related to website backups but it is very relevant because in order to revert to an older version of WordPress, you will need to begin with backups and the method of backup we will show you in this series will make it a whole lot easier to restore a failed WordPress upgrade.
In this tutorial, we will be demonstrating the backup and restore using cPanel because that’s what we use and that’s what we like. There are many ways to do a backup. There are also plugins to help you and make it all automatic and easy. This tutorial will show the manual (and free) way because… let’s just say, I’m the type who believes that you should know how to light a candle or a lamp if your power goes off 🙂
Now we’re ready, let’s go!
Objective: To backup website or WordPress files only, i.e. images, html files, php files, themes, plugin files and such.
Log in to cPanel
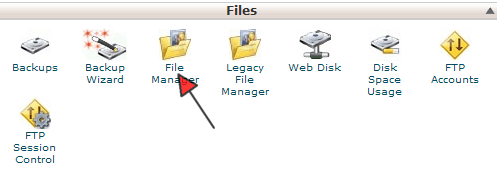
Locate the File Manager icon, click it
The File Manager will open in a new window
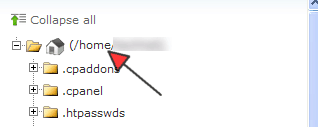
Click on the home folder (the one with the house next to it). The right pane will refresh and put you in the folder above the one you were before.
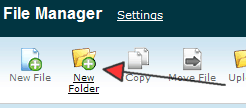
Click ‘New Folder’
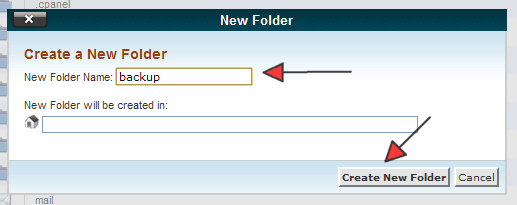
In the dialog box enter ‘backup’ and New Folder will be created in field blank. Click Create New Folder
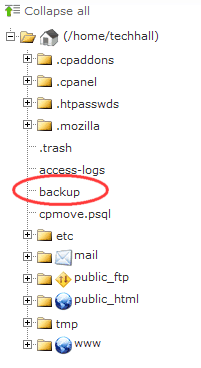
You should see your new ‘backup’ folder in the list
Now you’re ready to copy the files you want to back up. Click on the ‘public_html’ link
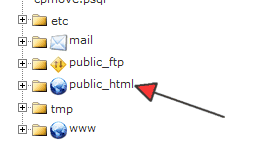
Select the files and folders you want to backup.
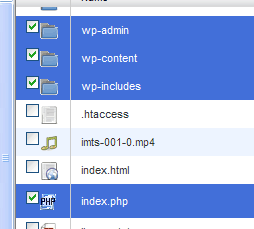
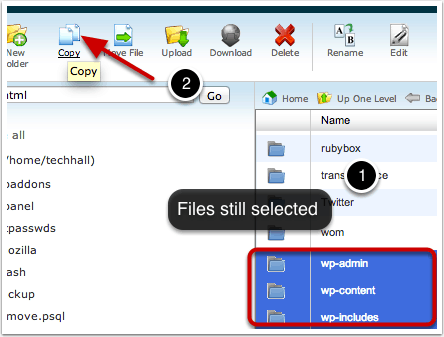
Now, you can do one of two things. You can drag and drop, or use the copy button. I prefer to use the copy button because sometimes the drag and drop tends to move the files instead of copying. With the files still selected, click the Copy button
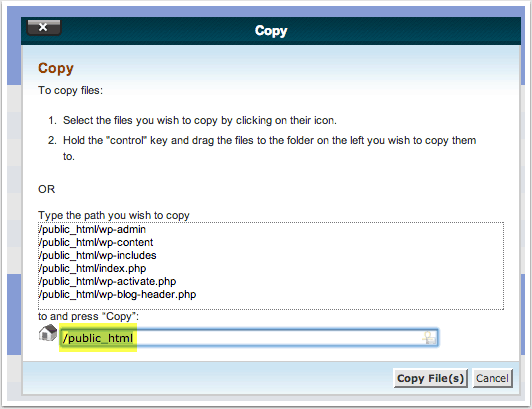
You will then be asked where you want to copy it to. The default is /public_html.
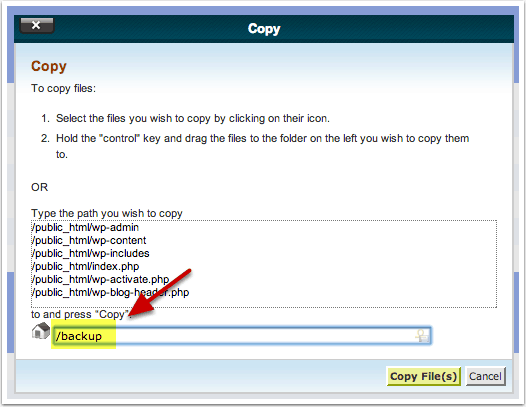
You do NOT want to copy it there. You want to copy it to your backup folder you set up earlier. So, replace public_html with backup, keeping the forward slash. Then click Copy File(s)
The process might take a moment or two if you have a lot of themes or plugins. They will be copied into the ‘backup’ folder. To check they are there, click the ‘backup’ folder’s link and you should see the contents on the right pane.
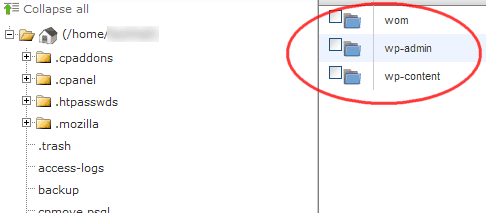
Congratulations! You have just backed up your files and folders. If you do not plan on downloading your backup, you can stop here.
Storing backups on the site itself it not always a great idea though. So downloading it would be a good idea for the longer term. To do that, click on the home folder again to bring you one level up. On the right pane, select the ‘backup’ folder.

Then click ‘Compress’ from the toolbar

In the dialog box, select ZIP and you can leave the rest as is. Click Compress.
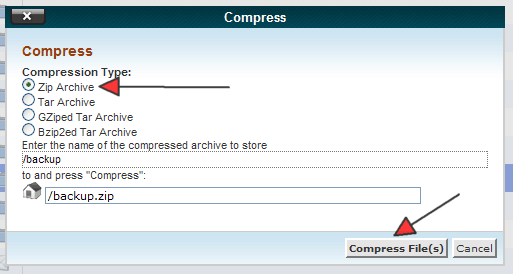
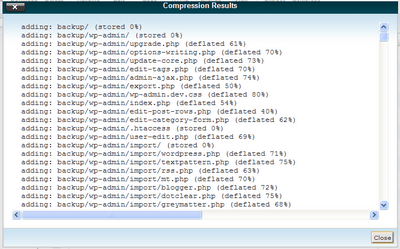
When it is done you will see a screen like this with the results and a zipped file in your /home/yoursite/ folder named backup.zip

You can click on the ‘backup.zip’ file and then click Download and save to your computer.

Next, we will walk you through how to backup your database.
