You’ve got a blog. You’ve got to promote it and yourself. People tell you to create content for Pinterest, Facebook, Youtube etc. How in the world do you create all that content and still have time to write meaningful, helpful posts on your own blog?
The simple answer is to repurpose. I’ll have to admit, the idea of repurposing still sounds like a lot of work. Now, I realize, that’s because I didn’t have a system. A simple checklist of what to do. I’m going to share a simple system here, how to repurpose your blog post into a) an image for social networks and b) a video for Youtube, and it’s only 5 steps.
1. Find A Post
The key to my ‘system’ here is to look for the right type of posts. List posts – just like the one you’re reading now – are perfect. The other type of posts are step-by-step posts. If these posts are already popular, that’s even better because that’s an indicator the post will be well received.
If you have never written such posts (why not?), do it now. In fact, you don’t even have to write the post fist. You can do it in reverse. This post started as a pencil sketched outline with my key points, then an image, then a video and now I’m fleshing it out in detail here.
Even before I write the blog post I already have 2 additional pieces of content to share and promote this post. How cool is that?
2. Summarize
If you have a post like that already written, then you look over it and summarize. Ideally for each point you will have a pithy heading and a short sentence to describe it. Short is the key!
If you’re starting from fresh like I did, you may have to do a reverse. I normally start every single blog post as an outline with a descriptor. I used these to build the image and the video. Now when writing the blog post itself, I’m adding on rather than summarizing.
3. Pick A Style
Because your content is visual, you need to figure out a style. If you have been consistent with your branding, you’ll know what your style is. If you haven’t, then perhaps now is a good time to figure it out. This is important because once you have a style, future repurposing will become easier and faster too since you have a sort of template and guideline to follow. Not to mention, if you will be outsourcing this, your outsourcers will appreciate it.
What do I mean by style? Some examples are: Handwritten – great for those in the craft business, Poster and/or Modern – usually businesses, Retro – many designers use this. Country – wonderful for home cooks. Of course, those are just generalizations. The key is to stay close to your brand and audience. Don’t do stuffy, corporate block letters and motivational music for surfer dudes.
4. Use Simple Tools
People tend to overthink the image and video creation process. We think we need a studio worthy of a Hollywood production. Nope. The key here is not to make a movie to rival Steven Spielberg or Picasso. Just something to communicate your points visually.
One of the most important things I learned from the book Doodle Revolution by Sunni Brown is – if you’re communicating a message, the ‘art’ is not important. Most people won’t even notice the visuals, but they will get your message and that’s what you’re after. Communicating your message. There’s a time and place for real art, not here. Even a drawing on the back of a napkin can work – really!

For this post, I used Keynote. Aha! And you thought it was only for presentations huh? Nope. Keynote and Powerpoint actually make great images and videos too. I use it because it’s on my computer, I like how it snaps things into place and it’s easy.
Again, don’t get too hung up on the tool. Use what you are most comfortable with. If you have no idea, besides the above, you can use Canva, or Youzign for images. For video, you can use PowToon which I use a lot. If you want to get the most bang for your time, did you know in Keynote or Powerpoint you can simply add animation to each text item and export as a video without re-creating the video from scratch in yet another tool?
5. Arrange and Organize
Out of all the steps this is perhaps the most time consuming but again, if you keep to the simple ideas, clear message rule, you’ll be just fine. If you’re the type who need more inspiration, hit Pinterest and look at other people’s infographic layouts. Or, go to Canva. Love their designs. They even have a design school for when you have a few minutes to learn.
To start you off, here are a few basic layout ideas.
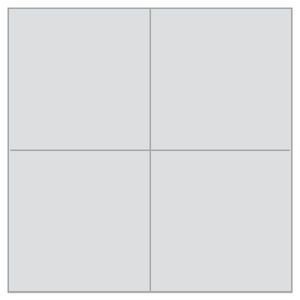
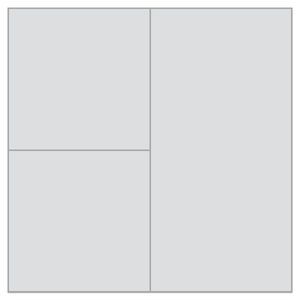
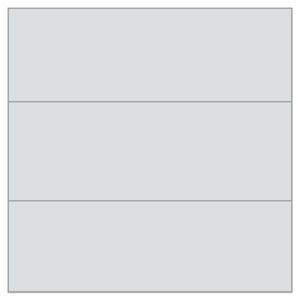

Just put your points in those layouts. If you have room embellish with fun borders, ribbons, or icons but you don’t always have to. Great typography and white space can go a long way.
Once you’re done, just export your image. If you used Keynote or Powerpoint, add your actions and export the same image as a video. Voila! Two additional pieces of content to share. You can add voiceovers if you want to but I find that just complicates things. Remember simple? Out there now, promoting you is better than on your computer doing nothing for anyone.
Bonus Tip! Don’t forget Slideshare when sharing your videos/images.
Want to see the results? Here they are:
- On Pinterest
- On Youtube (I used VideoFXMaker for the video)
As you can guess, this process is easily outsourced, but I’d first encourage you to firm up step #3. From then on, you can simply hand your outlines and summaries over. Your turn. Go repurpose that content.