Here’s the cold truth. Anytime you upgrade anything, there’s always a chance something will go awfully wrong. That’s why you backup your files and your database which is what we have been doing in this mini 3-part series. Let’s say you have upgraded and find that the upgrade is all wrong. This tutorial will show you how we roll back a failed upgrade to the previous stable version.
Like in the last two tutorials, this rollback method is based on the assumption you backed up both database and files the way we showed you. There are many ways to do this but for us, this is one of the easier manual methods we use.
Warning! This method will involve deleting the existing database and WordPress files do not proceed without making sure you have a back up of the original pre-upgrade files and database. You can also backup the failed upgrade again just to be doubly sure. We also encourage you to practice on a copy of your site beforehand. By following this tutorial you agree not to hold us responsible for any problems or loss of data. Proceed at your own risk.
Restore old database
This is the nice part. Because the database was not downloaded to our computers, we don’t have to spend time re-uploading and re-inserting it. All you need to do is swap the existing (upgraded one) for the old like this.
Log in to cPanel
If you want to backup this upgraded database follow the steps how to backup a website database. Otherwise, skip to the next step – warning, you will be deleting the existing database tables.
Look for phpMyAdmin icon, click it

Click on the existing database
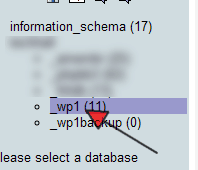
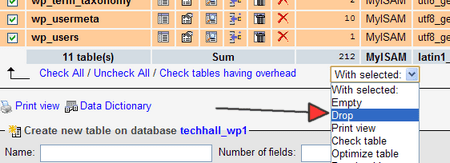
While in the Structure tab, click Check All to select all the database tables

In the drop down, select Drop
You’ll be asked if you really want to do that. Warning! There is no undo
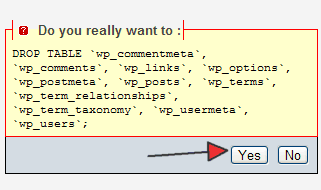
If you click yes, you’ll get a success message. Don’t worry. Your site will be down for a very, very short time while you swap the database out the faster you can do it, the faster the site will be back online.

Select the backup database
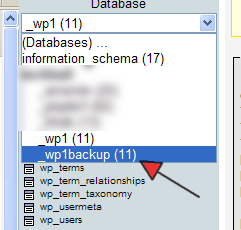
Click the Operations tab

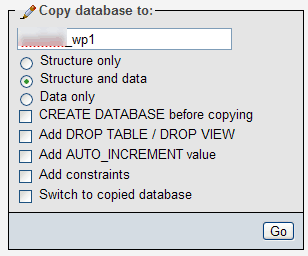
In the Copy database to box, enter the name of the existing database. Uncheck Create Database before copying. Click Go
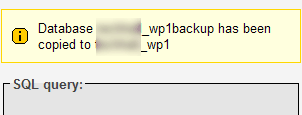
A success message will be displayed. Select the existing database to check, and re-load your site in your browser it should appear normal.
Restore WordPress files
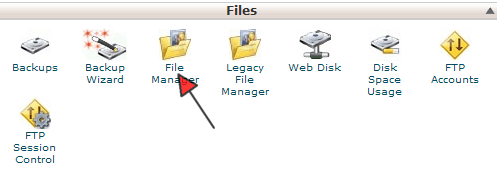
Still in cPanel, find the File Manager icon, click to launch File Manager
Select all the WordPress files – hint folders starting with wp- and the index.php
Sidebar: This is the reason why I prefer to run WordPress in a folder of its own even if the site will run on nothing but WordPress it makes restoring and backing up super easy because during backup, all you need to do is make a duplicate of the folder and when you want to restore, just rename the existing to something else and rename the backup as the existing folder. It is even easier than this method we are showing you.
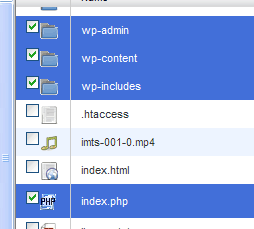
Click Delete. Warning! There is no undo.

Click on the backup folder name to open it
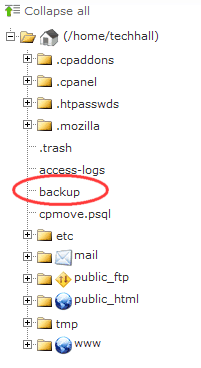
Select all the WordPress files in this backup folder
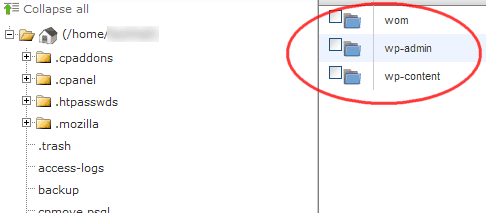
Holding down the Ctrl key, drag and drop into the /public_html/ folder. IMPORTANT! If you originally installed WordPress in a folder e.g. /public_html/blog then drag and drop the files into the /blog/ folder. Whatever you do, just make sure you copy the files back to the exact same folder you deleted the files from a moment ago.
That’s it. You should be done. Check your site, log in. If you did it right it should be a success.
Additional resources
- Part 1 – Backing up website files
- Part 2 – Backing up website database