For most of us, the forms provided by Aweber (or our email marketing solution) works just fine… most of the time. There are some projects where it would be smart to attempt to collect more information from the lead. One smart reason is like a form of opt-in upsell where you provide an option for people to get a freebie of a bigger value if they provided extra information about them or choose to continue, settling for the original freebie and less information.
As your technical advisor, I’m happy to tell you this is very do-able, the bad part is, you will require some HTML and perhaps Javascript or PHP knowledge depending how complex your form is.
Set up custom fields
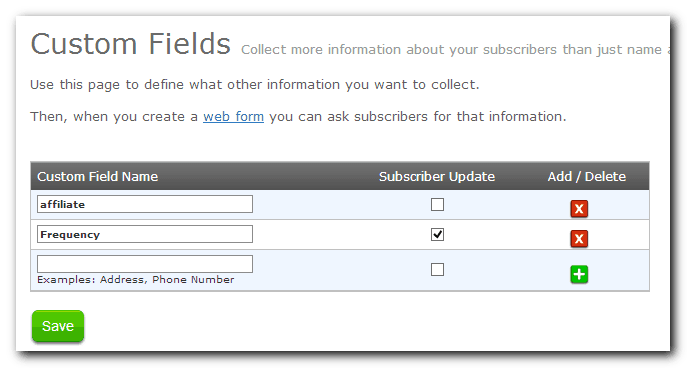
Your first step is to make sure your custom fields get set up in Aweber. If you haven’t used this feature before, it is where you add the groups of information you’d like to collect on your form. For example, if you need to collect the number of bedrooms people are looking for in a rental or their monthly rental budget. You’d create one field for budget and one for bedrooms.
Create two basic forms
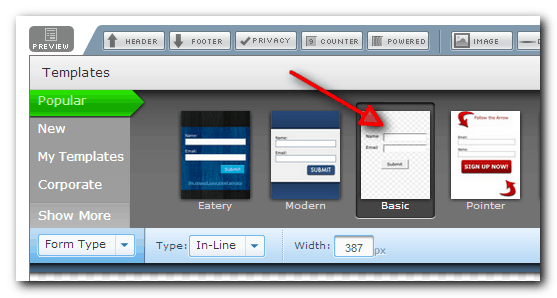
Next, set up a bare bones, no frills form why? Because the design would be lost anyway and you can only use it on one screen unless you or your outsourced help know enough about HTML to be able to carry through the design on both pages. If you are outsourcing, I’ll chance to say they would much prefer to work with a bare bones form and then add the design how they see fit. It just works better that way.
You’ll want to create two forms. One with all the extra information and one without. You could actually split this out into two lists if you prefer. That’s your call.
Implementation
This is the hardest part and it can change dramatically depending what you use to publish your website. I created an example on JSFiddle so you or your tech help can take a look how it works and copy the coding and method.
In short, you create a fake first optin screen to collect only the standard and most basic information such as email address only. This will serve to be your first screen.
Using Javascript, once the form is submitted, the user is presented with the second screen. This is where the Aweber form with extra information should be. Try it in the fiddle above.
That’s nice, but how do you make it more user friendly so people don’t have to type their information in each time?
Again, using Javascript, we add some simple lines of code so when users submit their email, the next thing they see is the 2nd screen and also secretly in the background, the Javascript copies their email address into the Aweber form. You can choose to let them see their email address already populated on the screen or not that’s up to you. In my example, the email field on all forms is visible so you can see how it works you can certainly make those hidden.
No thanks
Finally, if you want to give them the option to say no thanks to giving you extra information, add the 2nd Aweber optin form the one without extra information to the bottom of the second screen.
You will also need to tweak the Javascript code to make sure the email gets copied into this form once users click submit.
That should complete the form and get you on your way. It should be pointed out there are various ways of approaching this. Naturally, this being Javascript, it would fail for those without Javascript turned on. Although for most general markets you’ll be just fine. I also chose the Javascript method since it would be relatively easier to implement inside WordPress if you are using it. All you need is to add the Javascript code to your template or use a plugin that allows you to add Javascript to the page.