How To Add Shareable Images Into Your Emails With Aweber
To encourage sharing, I’ve started adding more share-friendly images to our blog posts. Thanks to our designer, these are often great looking.
When I wrote the post on steps to take when WordPress updates fail, she created a great image that really captured the message. The day I emailed about the post, I added the image into the email. The email linked to the post but only after sending, did I realize my mistake.
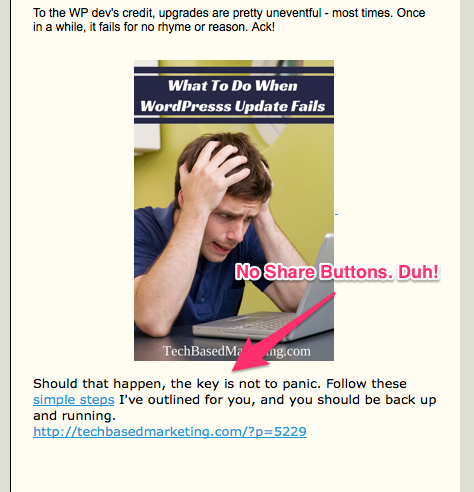
I should have added some share buttons to the bottom of the image as well. The idea is to use the share-friendly image to encourage people to share the post. I did this once but it totally escaped me that time. Live and learn!
If you’d like to do this too and you use Aweber, there’s great news. Adding share buttons is super easy. Here’s how.
Prepare Your Blog Post & Image
Before you do anything, you should have a destination for your shared image. This simply means, when people click on the image, they should go somewhere. The most logical destination is a blog post that further explains the image.
Make sure you have a great post with a shareable image. Be sure to specify the thumbnail image too. Reason is simple.
- You want the correct image to be picked up when the post is shared
- You want to promote your content
You could simply share the image only if you wanted to, but I think that’s not very good use of your graphic content.
Send An HTML Email
If you didn’t already guess this part, yes, you must send the email in HTML. You could do this in text but it’s long, ugly and the image of course is lost.
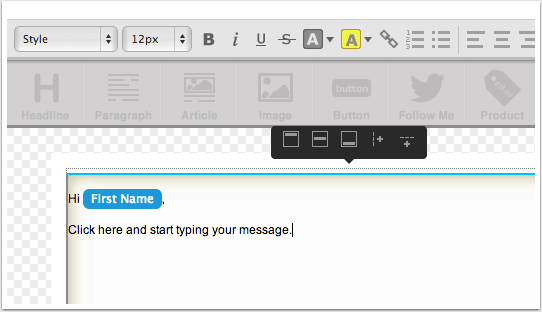
Write the HTML Email.
Add your message as you normally would in Aweber’s editor.
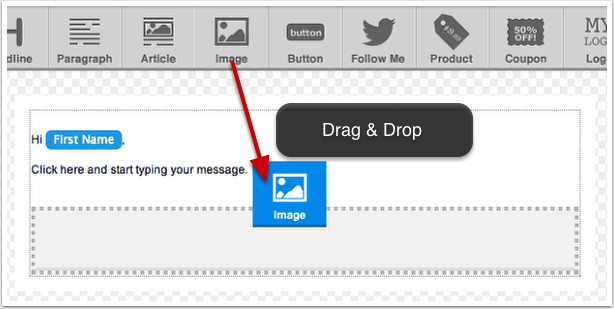
Add An Image Block
Drag the image block into your email.
Edit Image Options
After you do that, on the right side of the editor, change the image url to the url of your image.
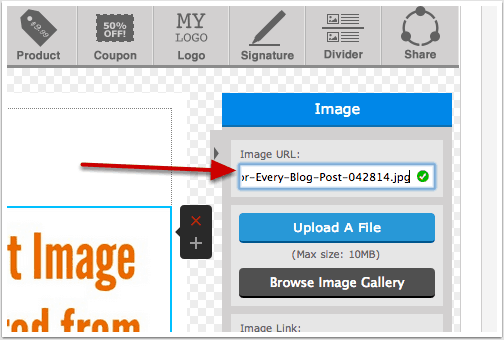
Still on the right side, make sure the image links to your blog post (or the destination). Remember also to define an Alt Text. This way, if the recipient hasn’t turned off image display in their emails, they will at least see some descriptive text in its place.

Add Share Buttons
Next, drag the Share block into your editor. You can place this above the image too if you wish.
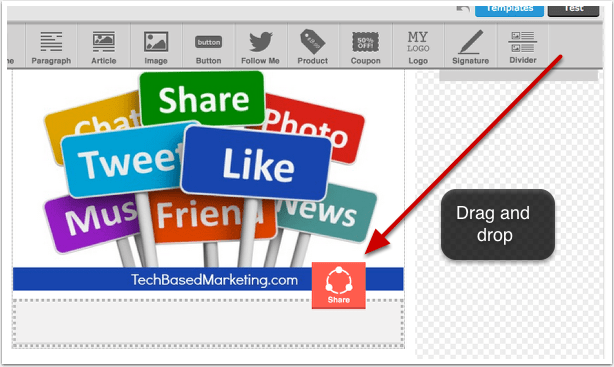
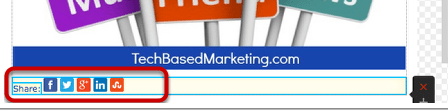
The share buttons will appear in your message.
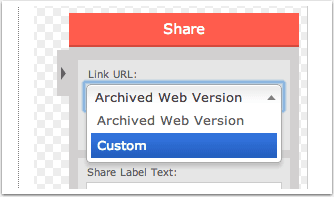
Edit Share Options
To the right of the editor, select Custom in the Link URL drop down.
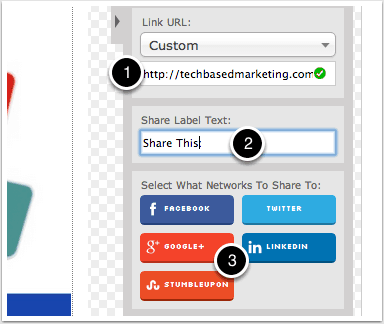
Then, enter the URL to your blog post in the field. By default, the label next to the share icons is Share. You can edit this if you wish. Finally, if you want to disable some of the social networks, simply click on the corresponding button.
From here, you can continue to write your email. If you’re done, simply save and send.
People who receive your email and click one of the share buttons will be led to share the post you just selected. And, because you set up Open Graph, or Twitter Cards in your blog post, you can be sure the correct shareable image is picked up.
Do You Want A Hands-Free Business?
Then get this guide to help you systemize your business so you'll have more time working on your business.
Hey! I want to make sure you know what you're getting here. In addition to the guide, you will also receive our memo that includes special offers, announcements and of course actionable information.
Awesome! Thank you Lynette! I’ve used aweber for years but it changes so much and so does technology. lol
Indeed they have changed quite a bit valselby
Their new HTML editor does take some getting used to though. I resisted it quite a bit in the beginning.